I have always been interested in photography, but I never knew before how to properly edit pictures of the stars nor how to edit milky way. I have found this video on Youtube on how to do it and I would like to talk about it in this post.
When I have started watching this video I have noticed that there’s some things I didn’t knew. The thing that surprised me the most is that the part where the milky way and the stars was basically black and there was not many things visible. I have figured it’s one of the perks of shooting pictures as raw files as it saves more information about it. When it comes to using adjustment layers, I somehow never used with with Lightroom. Both of these things was definitely something that I will consider to use in the future.
What I have found very useful is he showed how he works with things that might not seem as important. For instance I really liked when he did red and blue look for this photo rather green and orange as it looks way too artificial. Also the fact that he was making a crisp line that separates ground from the sky was very smart.
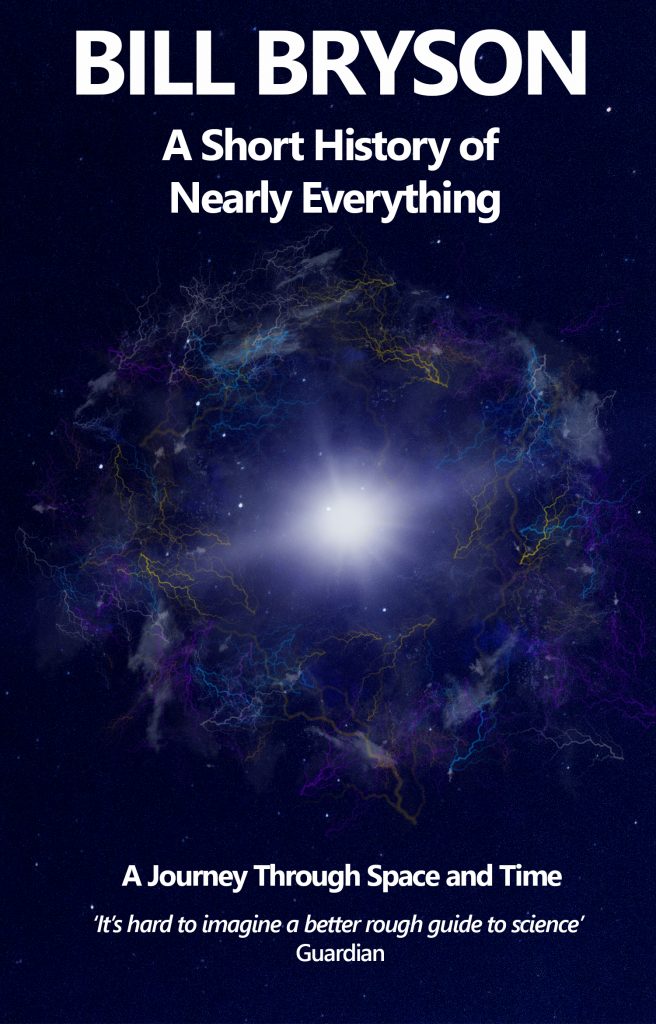
Since I love using photography and simulating pictures, this is definitely something that will be useful for me in the future. To be honest I wish I knew how to do this when I was making my book cover for Design Contexts, since I have used there a picture of the stars that I took in Lithuania and the rest of the things were drawn by me. I feel like I would have managed to achieve a better look of it I would have known this method.
In conclusion, I loved how this tutorial showcased even the smallest things how star and milky way photography could be edited. There was definitely some things that I’ve learned about it too.